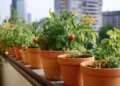
A thirsty tomato plant does not need your whole garden bed soaked. It needs water delivered slowly at its roots, where it can actually use it.
Learning how to install drip irrigation gives your vegetables, flowers, shrubs, and containers a steadier drink while saving time, water, and plenty of hauling around with a hose.
Drip irrigation can look a little complicated when you first see the fittings, tubing, and tiny emitters.
In practice, it is a flexible system of low-pressure tubes that sends water right where plants grow. Start small if you like. A single raised bed or sunny border is enough to make a noticeable difference.
Start With a Simple Garden Plan
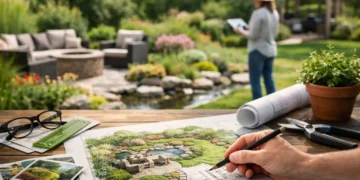
Before buying supplies, walk through the garden with a notebook or use a quick sketch on your phone.
Mark the outdoor faucet, the beds you want to water, and any obstacles such as paths, patios, or gates.
Measure the distance from the faucet to the farthest bed, then add a little extra tubing for curves and future additions.
Next, group plants by their watering needs.
Tomatoes, peppers, cucumbers, and annual flowers generally appreciate regular moisture during active growth.
Established native plants, drought-tolerant perennials, and rosemary may need a separate zone with less frequent watering. Putting everything on one line can work in a small mixed bed, but it may lead to overwatered herbs or under-watered vegetables.
Think about the soil, too.
Sandy soil drains quickly, so water may need to run more often for shorter periods.
Clay soil holds moisture longer and benefits from a slower pace with more time between watering.
Drip irrigation is not a set-it-and-forget-it system forever. It is a tool you adjust as weather, soil, and plants change.
What You Need for a Basic Drip System
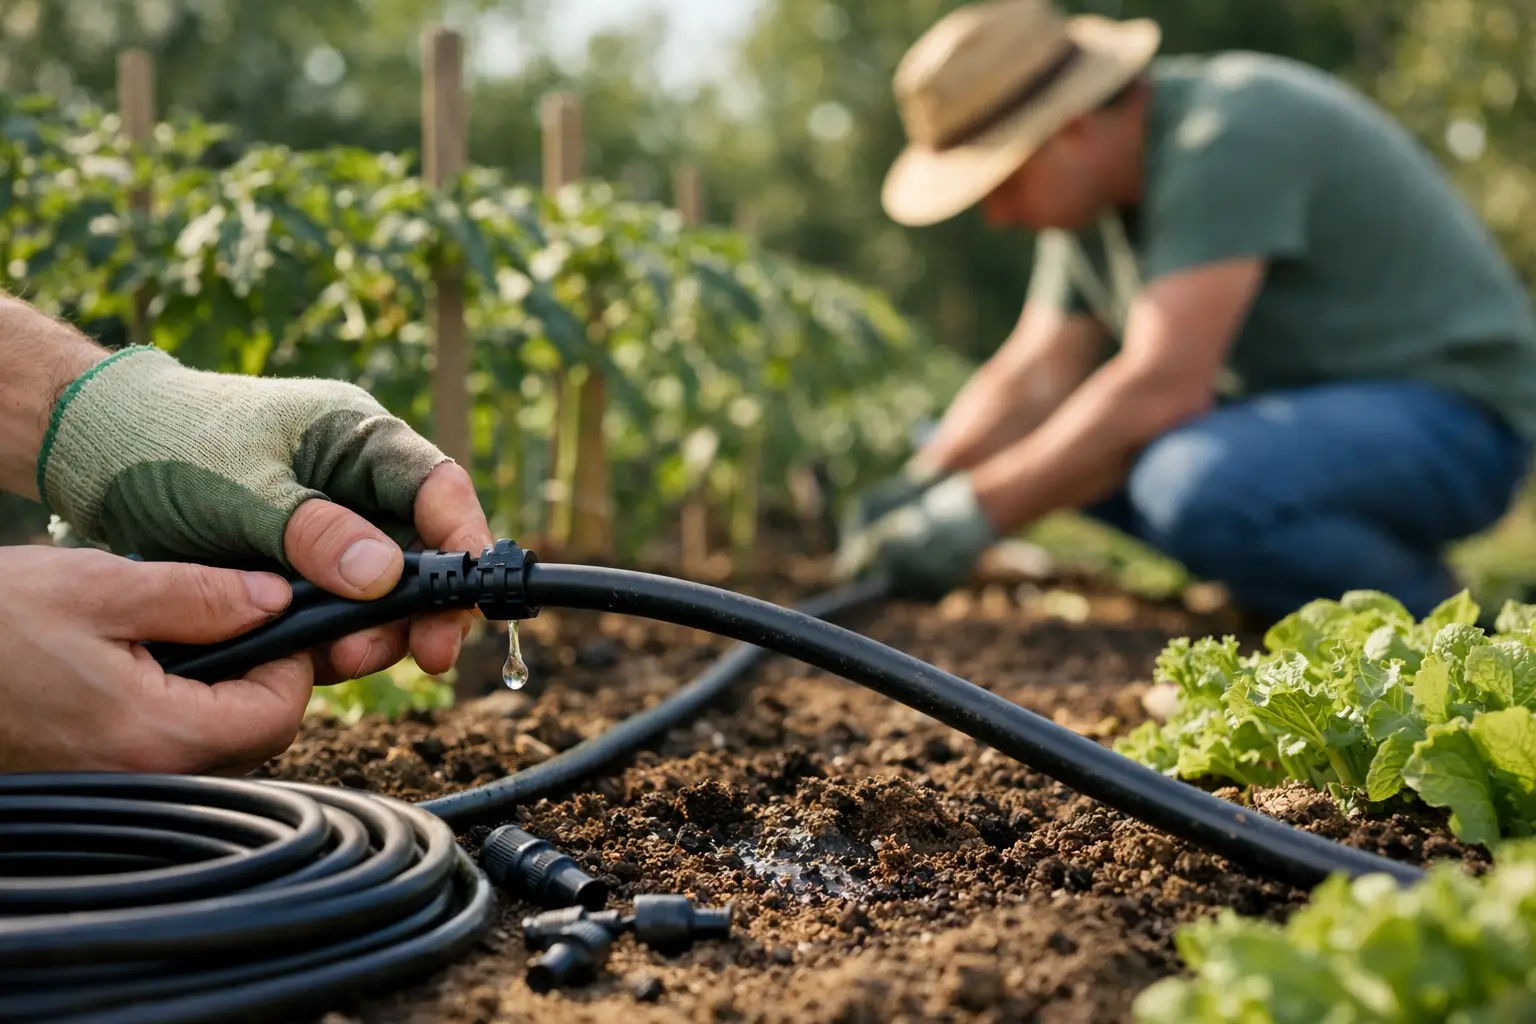
Most home garden systems begin at an outdoor faucet and use half-inch polyethylene tubing as the mainline.
Smaller quarter-inch tubing can branch off to reach individual pots or plants.
Buy compatible parts from the same system when possible, since tubing sizes and fittings are not always interchangeable.
For a typical bed, gather these essentials:
- A faucet timer, backflow preventer, filter, and pressure regulator
- Half-inch mainline tubing and compatible connectors, elbows, tees, and end closures
- Dripline with built-in emitters or separate emitters and quarter-inch feeder tubing
- A hole punch, tubing cutter or pruners, stakes, and goof plugs for misplaced holes
- Mulch or landscape staples to hold and protect the finished line
The filter keeps sediment from clogging tiny openings.
The pressure regulator lowers ordinary household water pressure to a level drip tubing can handle, often around 20 to 30 PSI.
A backflow preventer helps protect your household water supply.
Local rules vary, especially if you connect a system permanently, so check municipal requirements if you are unsure.
A timer is optional, but it is one of the biggest benefits of the setup.
It prevents the classic summer problem of realizing the garden missed a watering while you were busy, traveling, or simply enjoying a weekend away.
How to Install Drip Irrigation Step by Step
1. Build the faucet connection
Attach the backflow preventer to the faucet, followed by the timer, filter, and pressure regulator in the order recommended by their manufacturers.
Then connect the mainline adapter.
Hand-tighten threaded pieces firmly, but do not force plastic threads. If a connection drips later, check that the washer is seated correctly before tightening harder.
Keep this assembly easy to reach.
You will want access to the filter for occasional cleaning and to the timer for seasonal adjustments.
2. Lay out the mainline tubing
Run the half-inch tubing from the faucet along the edge of the garden or down a central path where branches can reach each planting area.
Let the tubing sit in the sun for 15 to 30 minutes before working with it.
Warm tubing bends more easily and makes installing fittings much less frustrating.
Avoid tight kinks and sharp corners.
Use elbow fittings where the line needs to turn, and use tees where it needs to split.
In a raised bed, a loop around the inside edge can supply several short feeder lines.
In a long vegetable row, run the mainline along one end and connect dripline down each row.
Secure tubing with stakes, especially on slopes or in places where children, pets, wheelbarrows, or mower wheels might disturb it.
You can leave it visible for the first week while checking the layout, then cover it lightly with mulch. Do not bury it deeply in soil, where repairs become harder to spot.
3. Choose dripline or individual emitters
Dripline has emitters built into the tube at regular intervals, commonly every 6, 9, 12, or 18 inches.
It is a smart choice for closely spaced vegetables, cutting gardens, ground covers, and dense flower beds.
Lay it in straight lines or gentle loops, keeping emitters near the plants’ root zones.
Individual emitters are better for shrubs, large perennials, and containers because you can place them exactly where needed.
A young shrub may start with one or two one-gallon-per-hour emitters.
A mature shrub with a broader root zone may need several emitters arranged in a circle farther from the trunk.
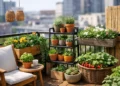
For containers, run quarter-inch tubing from the mainline to each pot and install an emitter near the plant.
Pots dry out faster than beds, so they are often easiest to manage on their own zone if your garden is large enough to justify it.
4. Punch, connect, and cap the lines
Use the designated hole punch to make clean holes in the mainline.
Push barbed connectors or emitters into those holes until they seat securely.
A hole made with a nail or knife may be too large and create a persistent leak, so the small punch is worth having.
Attach dripline or quarter-inch tubing to each connector, then cap the ends.
Many gardeners prefer a removable end closure, because it makes seasonal flushing easier.
If you accidentally place an emitter where you do not need it, insert a goof plug rather than replacing the entire section of mainline.
5. Flush the system before final testing
Before closing every line, open the ends and turn on the water briefly. This flushes out plastic bits, dust, or soil that could clog emitters. Then close the ends, run the system again, and walk the entire layout.
Look for sprays, puddles, dry emitters, loose fittings, and tubing that has popped free. Water should drip or trickle, not shoot into the air.
Make repairs now, before mulch hides the system.
Set a Schedule Based on What the Garden Tells You
A timer schedule is only a starting point. In warm weather, try running the system early in the morning so foliage and soil surfaces have time to dry. Morning watering also gives plants a reserve before afternoon heat arrives.
For many established beds, two or three deeper watering sessions per week are better than a quick daily sprinkle.
But the right runtime depends on emitter flow, plant spacing, soil, heat, rainfall, and mulch.
Check the soil a few inches below the surface after a cycle. It should be moist around the roots, not muddy and airless.
Watch your plants as closely as you watch the timer.
Wilting in the hottest part of the afternoon can be normal, especially for squash and other large-leaved crops.
If plants recover by evening and the soil is moist, they may not need more water. If they stay limp, growth slows, or the soil is dry several inches down, increase runtime gradually.
Keep Drip Irrigation Working All Season
Once a week, take a quick walk through the garden while the system runs.
Look for clogged emitters, chewed tubing, or a connector loosened by heat and garden activity.
Clean the filter when it collects debris, and rinse end caps occasionally to flush the lines.
Mulch is a perfect partner for drip irrigation.
A two- to three-inch layer of shredded leaves, straw, or untreated bark helps moisture stay in the soil and shades tubing from intense sun. Keep mulch slightly away from plant stems to reduce rot and pest hiding places.
In regions with freezing winters, disconnect the faucet components, drain the tubing, and store timers and filters indoors if the manufacturer recommends it.
Mainline can often stay in the garden under mulch, but removing water from the system helps prevent cracked fittings.
The first time you see a bed of thriving plants watered quietly at the roots, drip irrigation feels less like plumbing and more like a small act of garden care.
Build the system around how your garden actually grows, and it can make room for more harvesting, more flowers, and more time enjoying your gorgeous green retreat.
See also:
The Impact of Garden Water Conservation Techniques >
Transform Your Space with Low Maintenance Garden Ideas >