
Most home gardeners grow tomatoes. Most are a little disappointed by what they get.
If your plants look healthy but the yield feels thin, you’re probably not doing anything dramatically wrong. More likely, a few small decisions – spacing, watering timing, whether you’re removing suckers – are quietly compounding against you over a 90–120 day growing season. Fix those, and the rest mostly falls into place.
Here’s what the higher-yield home growers actually do.
Start With the Right Soil, Not Just Decent Soil
Tomatoes will grow in average garden soil. They’ll produce in soil that’s been properly prepared – and the difference shows up in fruit count and size, not just plant height.
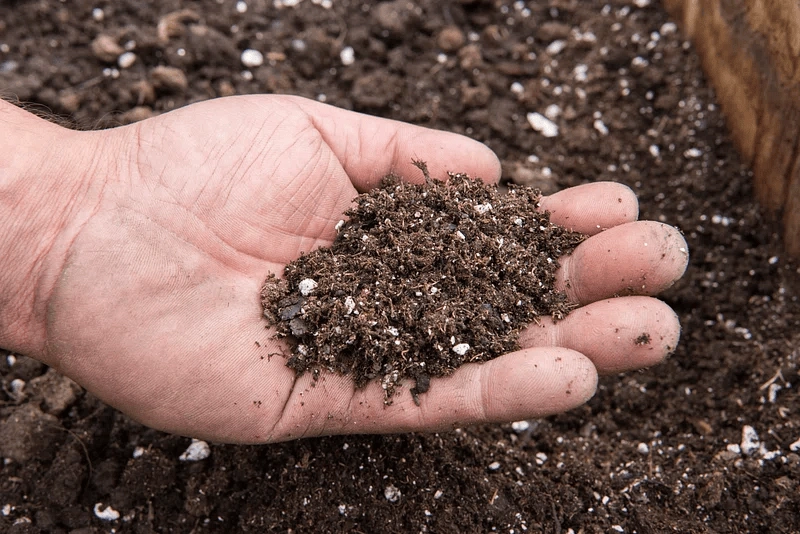
Before planting, dig your bed 12–18 inches deep. Work in:
- 2–4 inches of aged compost
- A handful of bone meal per planting hole (phosphorus supports both root development and fruiting)
- One tablespoon of Epsom salt per plant to prevent blossom end rot and help the plant absorb other nutrients
Target a soil pH between 6.0 and 6.8. Below or above that range, nutrients get locked out regardless of how much you fertilize – the plant simply can’t take them up. A basic soil test kit takes care of the guesswork for very little cost.
Poor drainage is also worth solving before you plant, not after. Waterlogged roots kill a season fast. Raised beds are the cleanest fix.
The Variety Decision Matters More Than You Think
This is where most home gardeners quietly lose yield before the first seed goes in the ground.
Indeterminate varieties keep growing and flowering all season long. Determinate types fruit once, then stop. If you want a continuous harvest rather than one big flush, indeterminate is the answer.
In warm Indian climates, Arka Vikas, Pusa Ruby, and F1 hybrids like Namdhari 625 tend to perform reliably – bred for heat tolerance, disease resistance, and consistent fruit set. Local desi cherry tomato varieties also produce well above what you’d expect from their size.
If you’re still working out which variety fits your setup and conditions, this guide to growing tomatoes covers selection in useful practical detail.
Spacing: Give Each Plant Actual Room
Crowded plants compete for water, nutrients, and light. You end up with tall, leafy growth – and not much fruit. The plant is technically healthy; it just has nowhere productive to put its energy.
For most home garden varieties:
- 18 – 24 inches between plants in a row
- 36 – 48 inches between rows
Getting spacing right also improves airflow through the canopy, which matters in humid climates where fungal problems like early blight are common.
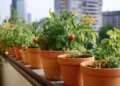
Short on space? Containers work – use at least 15–20 liters of capacity per plant, and pick a variety suited for container growing.
Water Consistently, Not Heavily
Erratic watering is probably the most common source of avoidable yield loss. When soil moisture swings – wet, then dry, then wet again – plants respond with blossom drop, cracking fruit, and blossom end rot. Most of these problems don’t show up until you’re already losing tomatoes, which makes inconsistent watering easy to underestimate.
The practical target is 1–2 inches of water per week, delivered at soil level. Drip irrigation or a watering can aimed at the base beats overhead sprinklers. Water in the morning – the soil absorbs it before afternoon heat peaks, and any splashed foliage dries before evening.
One common garden myth: reducing water during fruiting to “stress” the plant into producing more. That’s not how it works. Steady moisture at this stage is what drives fruit size and prevents skin from cracking.
Remove Suckers – Most Gardeners Skip This
A sucker is the small shoot that grows in the V-shaped joint between the main stem and a branch. Left alone, it becomes a full new stem. The plant divides its energy across all of them, and you end up with a lot of plant and not much fruit.
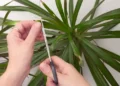
For indeterminate varieties, pinch suckers off when they’re still small – under two inches. Keep one or two main stems per plant. Small suckers come off with your fingers. Anything bigger, use clean pruning shears; an open cut from a dirty tool is a disease entry point.
Don’t remove suckers on determinate varieties. They’re already programmed to produce a fixed number of fruits per stem – you’d just be reducing the total.
Feed for Fruit, Not Foliage
Pre-plant soil preparation covers the early growth phase. Once flowering starts, the plant’s nutritional needs shift, and your fertilizer should too.
At flowering, switch to a low-nitrogen, high-phosphorus and potassium formulation. Too much nitrogen at this stage drives leafy vegetative growth at the expense of fruit. A 5-10-10 or 0-10-10 applied every 10–14 days during fruiting keeps the plant’s energy going the right direction.
Liquid seaweed or compost tea every two to three weeks adds micronutrients without the risk of burning roots. If older leaves start yellowing mid-season, check for magnesium deficiency first – a diluted Epsom salt spray (1 tablespoon per liter of water) often clears it up within a week.
Mistakes That Quietly Cost You Fruit
Planting too early. Soil below 18°C slows root establishment and makes young plants vulnerable to disease before they’ve had a chance to get established. Wait for the soil, not the calendar.
No vertical support. Unsupported plants sprawl. Fruit touches the ground and rots. Stake or cage from week one – not after the plant starts falling over.
Overhead watering. Wet leaves are how fungal infections start. Keep all water at the base.
Skipping mulch. A 2–3 inch layer of straw or dry grass around the base retains moisture, keeps root temperature stable, and stops soil from splashing onto lower leaves during watering – which is how most soil-borne diseases travel.
Bottom Line
Tomatoes aren’t particularly difficult. The gap between an average yield and a genuinely good one usually comes down to spacing that’s actually generous, water that’s actually consistent, and suckers that actually get removed.
Get those three things right over a full growing season, and the plants tend to do the rest.