
There’s something quietly magical about learning how to paint a fence. You might not notice it straight away, but once it’s done, everything else in the garden seems to fall into place.
Plants look brighter, borders feel more intentional, and suddenly the whole space has a sense of care and completeness.
Fence painting isn’t the flashiest gardening job, but it’s one of the most transformative—and one of the most satisfying when you finally step back and admire your work.
Here at Good Garden Ideas, we’re big fans of projects that combine practicality with creativity, and fence painting ticks both boxes beautifully.
Yes, it’s about protection, but it’s also about personality, mood, and giving your garden the background it needs. This step-by-step guide will show you how to do it with friendly advice and no extra fuss, whether you’re putting up a new fence, fixing up an old one, or just want to change the colour.
So pull on some old clothes, put the kettle on, and let’s master the art of fence painting together.
Why Learning How to Paint a Fence is Time Well Spent
Before we dive into brushes and paint tins, it’s worth understanding why fence painting matters so much.
First, there is safety. Wooden fences live a tough life outdoors. They’re constantly exposed to rain, sun, frost, wind, and fluctuating temperatures.
Over time, wood that hasn’t been treated will soak up water, dry out, crack, warp, and finally rot. A good paint, stain, or treatment acts as a barrier, slowing down that process and making your fence last for years longer.
Then there’s how it looks. Even the most beautiful garden planting can look a little unfinished if the fence behind it is grey, streaky, or peeling. A fresh coat of paint instantly lifts the entire space. It creates contrast, defines boundaries, and allows plants to shine.
Finally, there’s the simple joy of leaving your mark. Your fence is a big part of how your garden looks. Why not make it match your style? Whether that means subtle and natural or bold and contemporary, painting your fence is an easy way to put your personal stamp on your outdoor space.
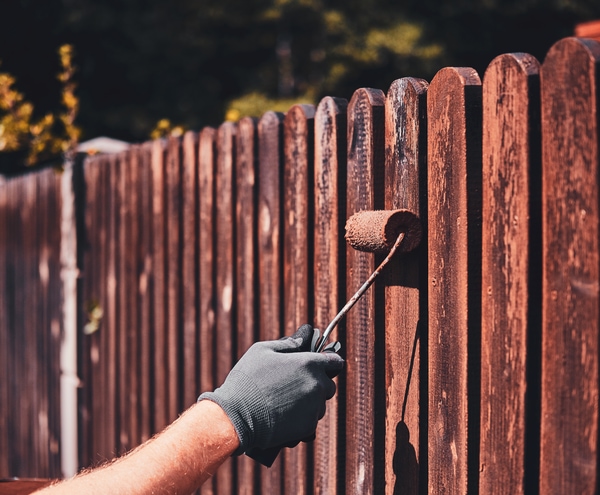
Step 1: Choosing Between Paint, Stain, or Treatment
The first big decision is what kind of finish you want. This choice affects not only how your fence looks, but how it ages over time.
Fence Paint
The colour of fence paint is solid and opaque, and it stays on the wood.
Why choose paint?
- Excellent coverage, even on older or mismatched panels
- A lot of different colours and finishes
- Great for dramatic visual impact
Things to keep in mind:
- If the fence isn’t well prepared, the paint can peel or crack.
- May need more frequent maintenance than stain
Paint is ideal if you want a clean, uniform look or you’re covering a fence that’s seen better days.
Fence Stain
Stain penetrates the wood rather than sitting on top, allowing the grain to show through.
Why pick stain?
- Natural, textured appearance
- Usually longer-lasting than paint
- Less likely to peel
Things to keep in mind:
- Limited colour range
- Doesn’t hide imperfections as well
Stain is perfect for newer fences or gardens where a more natural, relaxed feel is the goal.
Fence Treatments and Preservatives
These focus on protecting the wood rather than changing its appearance.
Why choose a treatment?
- Preserves the natural colour of the wood
- Easy and low-key
- Excellent for maintenance
Things to think about:
- Minimal visual transformation
Tip from Good Garden Ideas: Always use products that are made just for outdoor wood. Interior paints and finishes simply won’t survive outdoors, no matter how tempting that leftover tin might be.
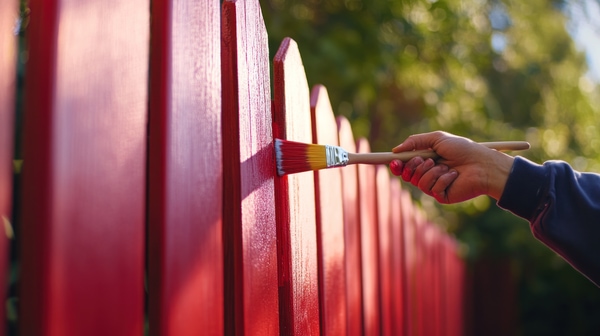
Step 2: Choosing a Colour That Goes Well with Your Garden
Colour choice can feel surprisingly high-stakes—after all, a fence covers a lot of ground. The good news is that most gardens suit a wide range of colours if they’re chosen thoughtfully.
Popular and Reliable Choices
- Soft greys and greige tones: modern, calm, and can be used in a lot of different ways.
- Dark shades (charcoal, black, deep brown): Make foliage and flowers pop dramatically
- Creams and off-whites: Bright and classic, though they do show dirt more easily
Natural Wood Colours
Natural stains and warm browns blend beautifully into garden settings and are especially suited to wildlife-friendly or informal spaces.
Going Bold (Carefully)
Deep greens, blues, or even muted pastels can look stunning, particularly in contemporary gardens. If you’re tempted, paint a small test area and live with it for a few days. Light makes everything look different outside, and colours can look very different when they are dry.
Step 3: Gathering Your Tools and Supplies
Fence painting is much more enjoyable when you’re properly equipped.
Basics
- Exterior fence paint, stain, or treatment
- Wide paintbrush for panels
- Smaller brush for edges and gaps
- Roller with a long nap (optional but useful)
- Paint tray or bucket
- Drop cloths or old sheets
- A block of sandpaper or sandpaper
- Stiff brush or broom
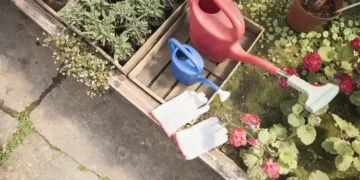
- Gloves and old clothes
Nice-to-Have Extras
- Step stool or small ladder
- Tape for masks
- Fence sprayer (great for large fences, though practice first)
Having everything ready before you start saves endless trips back to the shed.
Step 4: Preparation – The Unskippable Step
Preparation might not be glamorous, but it’s the difference between a finish that lasts for years and one that starts peeling by next spring.
Cleaning the Fence
Start by removing dirt, algae, cobwebs, and loose debris. A stiff brush and warm, soapy water usually do the job.
For very dirty fences, a pressure washer can help—just use a gentle setting and keep the nozzle moving to avoid damaging the wood.
Making Repairs
- Hammer in protruding nails
- Replace broken or rotten boards
- Secure loose panels
- Sanding
Use sandpaper to smooth out rough spots, paint that is peeling, and places where the wood has split. You’re not aiming for perfection—just a smooth, stable surface that paint can adhere to.
Drying Time
This is very important. If you paint or stain wood that is still wet, it will almost certainly fail. Choose a dry spell and give the fence plenty of time to dry completely before moving on.
Step 5: Look at the weather (and then look at it again)
Timing is everything when it comes to painting a fence.
Best Conditions
- At least 24 hours of dry weather
- Mild temperatures (not too hot, not too cold)
- A little bit of cloud or soft sunlight
Don’t paint when it’s very hot, very humid, or when rain is on the way. A little patience now will save you a lot of trouble later.
Step 6: Painting Techniques for a Professional Finish
Now we get to the fun part.
Work in Sections
Begin at one end of the fence and carefully make your way to the other. This helps keep things the same and stops patches from being missed.
Top to Bottom
Always paint from the top down. Gravity happens, and this approach lets you catch drips before they dry.
Follow the Grain
Brush in the direction of the wood grain for a smoother, more natural finish.
Coats that are thin and even
Two thin coats are much better than one thick one. Thick coats take longer to dry and are more likely to crack or peel. Let the first coat dry fully before applying the second.
How to Use a Roller or Sprayer
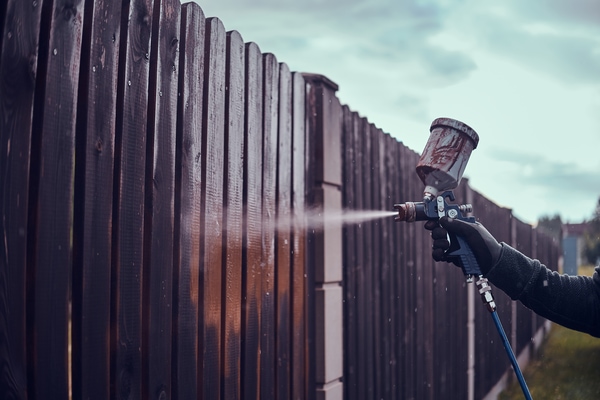
Rollers and sprayers can speed things up, especially on large fences, but they’re best followed by a quick brush-over to work the paint into the wood and catch drips.
Step 7: Mind the Details
After painting the main panels, check back:
- Corners and edges
- Between slats
- Around posts, hinges, and gates
These areas are easy to miss but make a huge difference to the overall look.
Step 8: Drying, Curing, and Second Coats
Drying time isn’t the same as curing time. While paint may feel dry to the touch in a few hours, it often takes much longer to fully harden.
- Carefully read and follow the manufacturer’s instructions.
- Avoid leaning tools or furniture against the fence too soon
- Keep pets and children away until fully dry
Being patient here will pay off in the long run.
Step 9: Do a good job of cleaning up
Clean brushes, rollers, and trays as soon as you’re finished. Dried-on paint is notoriously difficult to remove and shortens the life of your tools.
Dispose of leftover paint responsibly and store what you’ll reuse in a cool, dry place.
How to Avoid Common Mistakes When Painting a Fence
Even experienced DIYers make mistakes.
Some of the most common include:
- Painting wood that is wet or dirty
- Skipping preparation
- Using the wrong type of product
- Rushing between coats
- Painting when the weather is bad
Take your time. It’s not a race to paint a fence.
Making Fence Painting Enjoyable
Let’s be honest—painting a fence can be a big job. A few small tweaks can make it much more pleasant.
- Break the job into manageable sections
- Listen to music, audiobooks, or podcasts
- Work during cooler parts of the day
- As you go, celebrate your progress.
You don’t have to do everything in one weekend.
Ongoing Fence Care and Maintenance
Once your fence is painted, a little maintenance goes a long way.
- Inspect it annually for chips or peeling
- Touch up problem areas promptly
- To keep algae from growing, clean every so often.
Regular care means you’ll rarely have to start from scratch again.
Final Thoughts from Good Garden Ideas
Mastering the art of fence painting isn’t about perfection—it’s about care, intention, and pride in your garden.
A freshly painted fence protects your investment, enhances your planting, and quietly frames all the hard work you’ve put into your outdoor space.
Whether you opt for a timeless neutral, a natural stain, or something a little bolder, take your time and enjoy the transformation.
We think that doing these kinds of thoughtful, hands-on projects is what really connects us to our gardens.
Stand back, admire your work, and enjoy the way your garden feels refreshed, polished, and ready for the seasons ahead. Have fun painting!