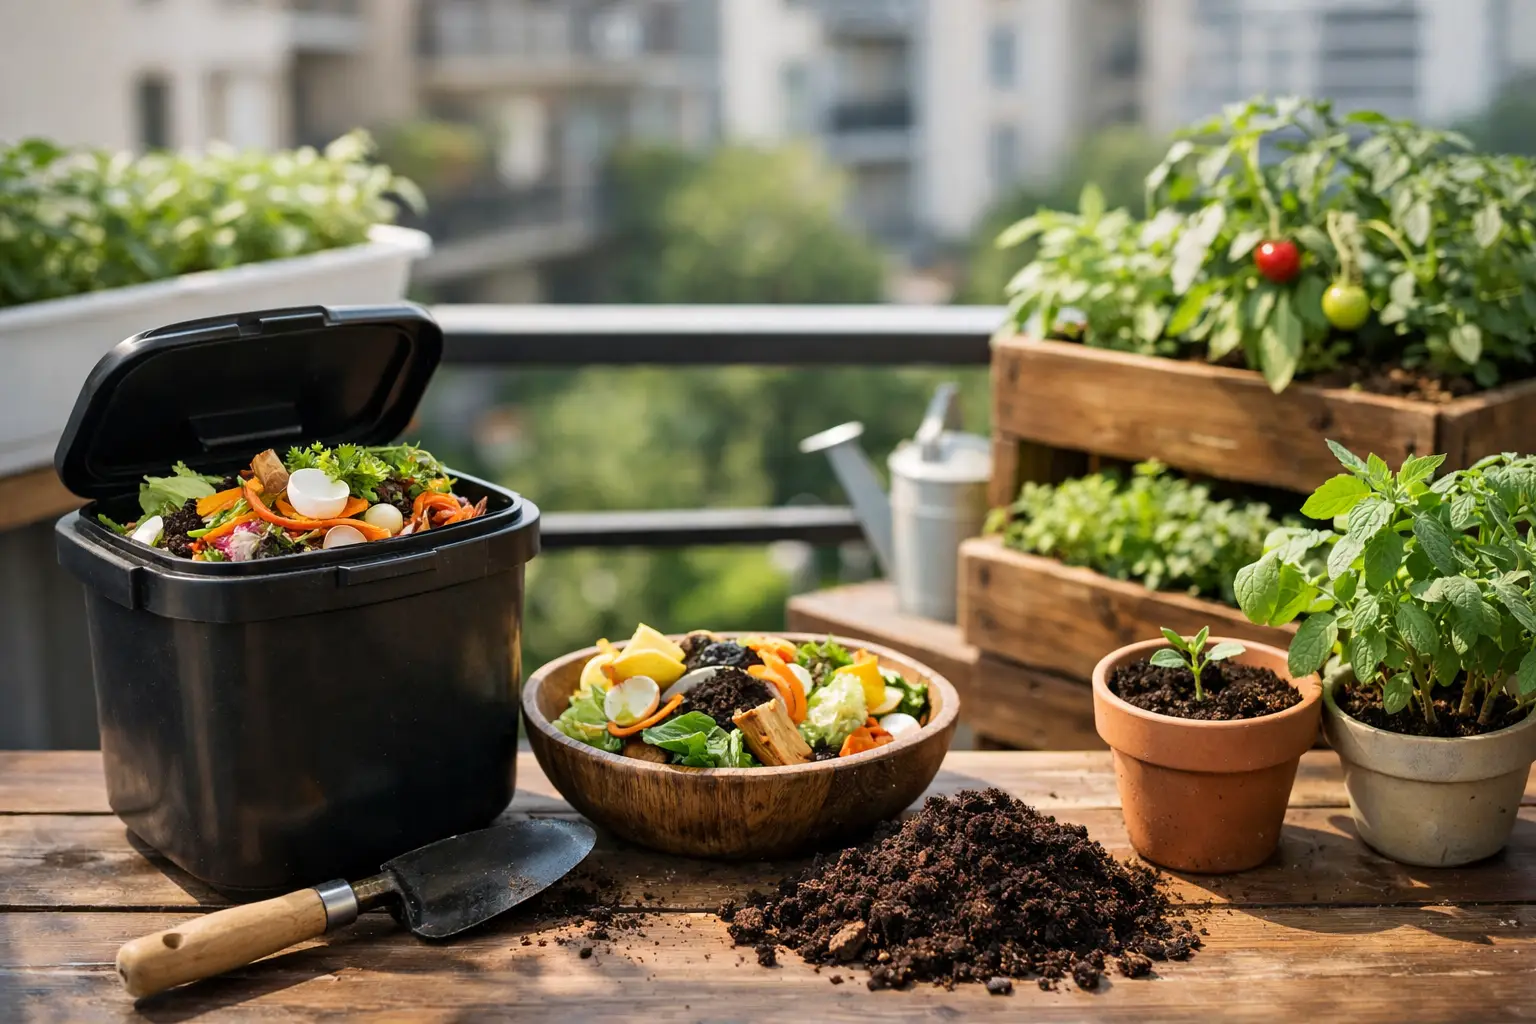
A banana peel, a handful of coffee grounds, and wilted basil leaves may not look like much. But for a container gardener, they are the beginning of richer potting soil, stronger roots, and a more self-sufficient little growing space.
Composting for apartment gardeners is absolutely possible, even without a backyard pile or a sprawling patio.
The secret is choosing a method that matches your space, schedule, and comfort level.
A tiny kitchen can support a small worm bin. A sunny balcony may have room for a compact covered compost bin.
And if you would rather keep food scraps out of your home entirely, a simple freezer container plus a local drop-off routine can still make you part of the composting cycle.
Why Compost Belongs in a Container Garden
Potting mix does a lot of work. Every watering slowly carries nutrients out of drainage holes, while repeated root growth can leave containers compacted and tired.
Compost helps refresh that mix by adding organic matter, supporting beneficial soil life, and improving the way soil holds both water and air.
For herbs, patio tomatoes, peppers, salad greens, and flowering annuals, finished compost is a gentle soil booster rather than a complete fertilizer.
Think of it as a nourishing pantry, not a quick energy drink.
Your plants may still need a balanced fertilizer, especially heavy-feeding vegetables, but compost creates a healthier foundation for everything else.
Apartment composting also cuts down on the wet, heavy food waste that fills kitchen trash cans.
That is a satisfying win when you are already growing mint on a windowsill or turning a balcony into a gorgeous green retreat.
Choose a Composting Method for Your Apartment
There is no single best system. The right choice depends on whether you have outdoor space, how much food waste your household produces, and whether you want finished compost at home or simply want scraps diverted from the landfill.
1. Worm composting for small spaces
Worm composting, also called vermicomposting, is often the best fit for apartment gardeners who want a steady supply of high-quality compost.
Red wiggler worms live in a ventilated bin filled with damp shredded paper, cardboard, coconut coir, or a mix of these materials. They eat small amounts of produce scraps and turn them into dark, crumbly worm castings.
A worm bin can fit under a utility table, in a closet with stable temperatures, or on a protected balcony. Keep it out of direct sun and away from freezing temperatures. Worms are happiest in roughly the same conditions people enjoy indoors.
Start slowly.
Add a small amount of chopped food scraps to one corner of the bedding, then wait to see how quickly the worms process it.
If scraps are lingering after several days, feed less.
A healthy bin smells earthy, like a forest floor. Sour or rotten smells usually mean the bin is too wet, overfed, or short on dry bedding.
Fruit flies can be annoying, but they are preventable. Freeze scraps before adding them, bury food under the bedding, and keep a layer of dry shredded paper on top.
Avoid meat, dairy, oily foods, and large amounts of citrus or onions. Those materials can create odors and make a small bin harder to manage.
2. Balcony or patio compost bins
If your apartment has a balcony, patio, or shared outdoor area where it is permitted, a compact enclosed bin can handle more material than a worm bin.
This approach works best when you can regularly combine nitrogen-rich green materials, such as vegetable trimmings and fresh leaves, with carbon-rich browns, such as shredded paper, dry leaves, and plain cardboard.
The trade-off is patience. A small outdoor bin rarely gets hot enough to break down material as quickly as a large backyard pile.
Chop scraps into small pieces, add more browns than you think you need, and turn the mix occasionally with a hand trowel.
In warm weather, it may produce usable compost in several months. In winter, the process can slow dramatically.
Check your lease and building rules before setting up any outdoor bin. A sealed, tidy system is far more neighbor-friendly than an open container that can attract pests.
3. Bokashi for households with more food scraps
Bokashi is a fermentation method that uses a bran inoculated with beneficial microbes. It works in a tightly sealed bucket and can accept foods that standard compost bins usually avoid, including small amounts of meat, dairy, and cooked leftovers.
It is useful for apartment dwellers because the bucket stays sealed and takes up little room. Still, bokashi does not create finished compost on its own.
The fermented material needs to be buried in soil, added to another compost system, or taken to an appropriate community compost site to finish breaking down.
If you only have houseplants and no access to soil or a drop-off program, a worm bin may be more practical.
4. Freeze and drop off scraps
The simplest route can be the most realistic. Keep a lidded container in the freezer and add vegetable scraps, coffee grounds, eggshells, and fruit peels as you go.
When it fills, bring it to a compost collection program, community garden, farmers market, or municipal site that accepts food scraps.
You will not make compost at home with this method, but you will keep valuable organic material in circulation.
Ask whether the finished compost is available to participants. Some programs offer a seasonal pickup that can be a wonderful boost for balcony containers.
What to Save and What to Skip
For most apartment compost systems, save fruit and vegetable scraps, coffee grounds and paper filters, tea leaves, crushed eggshells, plain paper towels, and small amounts of houseplant trimmings.
Shred paper bags, cardboard, and uncoated paper to create the dry brown material that balances moist kitchen scraps.
Skip pet waste, greasy foods, bones, heavily processed leftovers, and anything treated with harsh chemicals.
Diseased plants and weeds with mature seeds are also better left out of a small home system. They may not break down thoroughly enough to be safe in the finished material.
A countertop electric food recycler can reduce scraps into dry, crumbly material quickly, which may help with odor and storage.
But it does not automatically produce finished compost.
Treat its output as a soil amendment that still benefits from mixing with compost, soil, or a curing system before using it around delicate plants.
How to Use Finished Compost in Pots
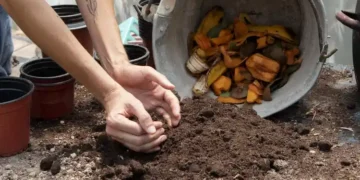
Finished compost should be dark, loose, and pleasantly earthy. You should not be able to recognize food scraps. Before adding it to containers, screen out any large unfinished bits and return those to the bin.
For established houseplants and container crops, spread a thin layer – about one-half inch – over the soil surface, keeping it slightly away from plant stems. Water afterward. This top-dressing method is easy, tidy, and gentle enough for most plants.
When refreshing a large planter between seasons, blend compost into the upper few inches of old potting mix.
Aim for roughly one part compost to three or four parts potting mix.
Too much compost can make containers hold excess moisture or become dense, particularly in small pots.
Cacti, succulents, and other drought-loving plants need an even lighter touch and plenty of gritty, fast-draining material.
Keep Your System Clean, Calm, and Consistent
The best apartment compost setup is one you will actually maintain. Keep a small scrap container where you prep meals, store extra browns nearby, and give your bin a quick check once a week.
You are looking for moisture similar to a wrung-out sponge, not dripping wet bedding or dusty dry material.
If odor appears, add dry browns and pause feeding for a few days. If the bin seems dry, mist it lightly or add moist scraps.
If pests show up, make sure every scrap is covered or buried. Most composting problems are not disasters. They are simply signs that the mix needs a little rebalancing.
Start with one week’s worth of scraps, one small bin, and the plants already brightening your home. Before long, those everyday peelings can become part of the healthy, living soil that helps your apartment garden feel more abundant with every season.
See also:
A Beginner’s Guide to Make Your Own Compost >
The Ultimate Guide to Successful Worm Farming >
A Guide to Sustainable and Resource Efficient Gardening >